Please read the description before order!
The kit is a DIY product, T12 tip will be different from the random purchase, T12 tip can be used for HAKKO T12 handle, quality assurance, customers can rest assured to buy. We are the DIY kits, not kits produced by HAKKO.
The new arrival tips have change new package!the product is the same, quality assurance!
Because the rosin is flammable, and all rosin cannot pass the safety inspection. so the rosin will not be sent to you.pls understand .
Packing list of each option:
The Package listing as the main photo shows all diy kit(But If you choose ABS shell or 24V4.5A power supply switching transformer ,the package only the part you choice not the DIY kits!)
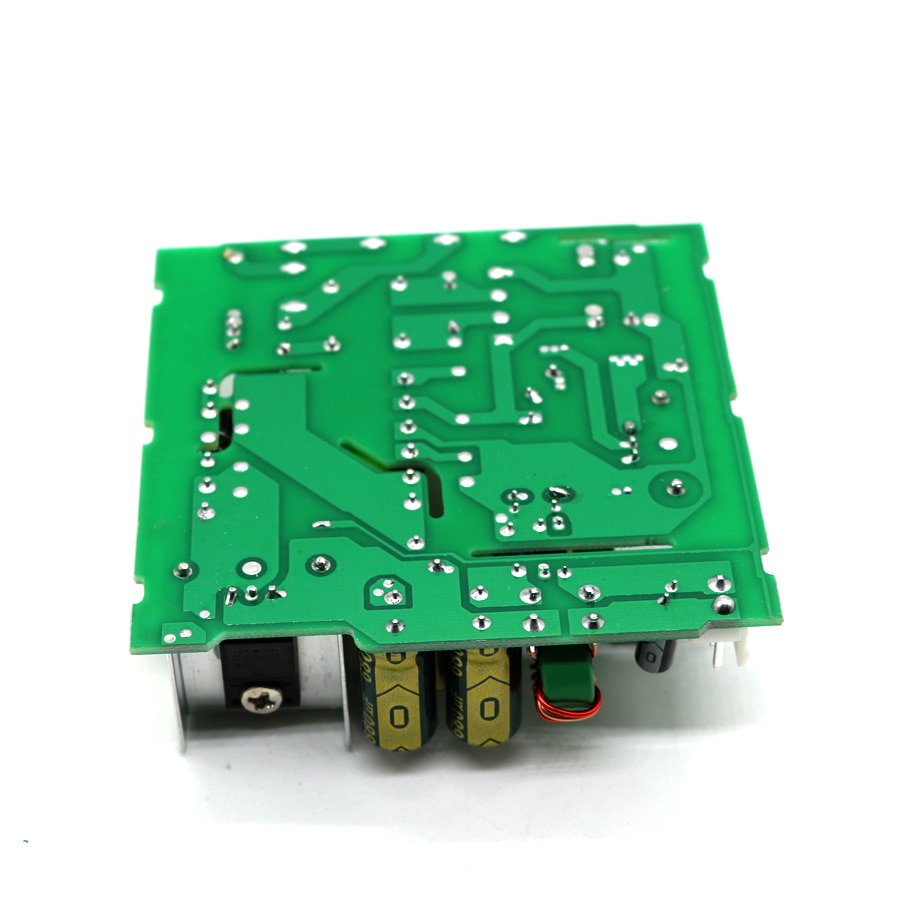
We suggest not order the Shell together with the following 24V 4A 6A power supply switching transformer(we don't sell this power supply now) ,because it need you to change the shell to have enought place for Power supply,you can do like the following photo as my other Customers do! (you can choose our new 4.5A power supply)
Problem of power:
If the product is no other use of the problem, the value of several degrees - dozens of degrees of temperature jumping are generally power problems, our manufacture use used genuine Apple power,the proposed use of good quality brand manufacturers of genuine power like Taiwan genuine Mean Well power or Apple power!
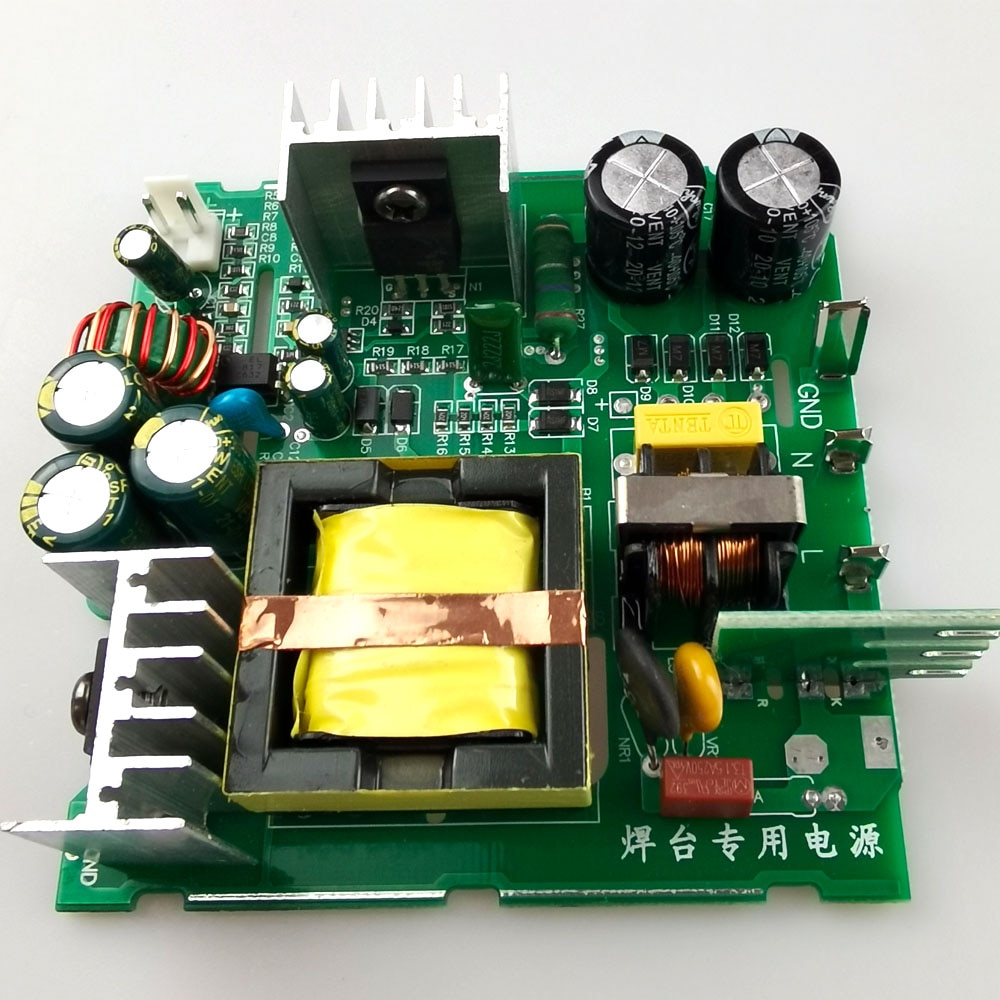
This product not include power supply,suggest that you try to use the T12 Power supply requirement like the photo i upload and recommended to try to use the power 19V-24V laptop switching power supply, printer supply or storage battery!
Attention:
This product not inclue the shell and power supply, if you want the alloy shell or our new 24v 4a power supply(it match the shell,not the 24v 4a 6a power supply ),you can choice that in addition or click into the following photo and place a new order!
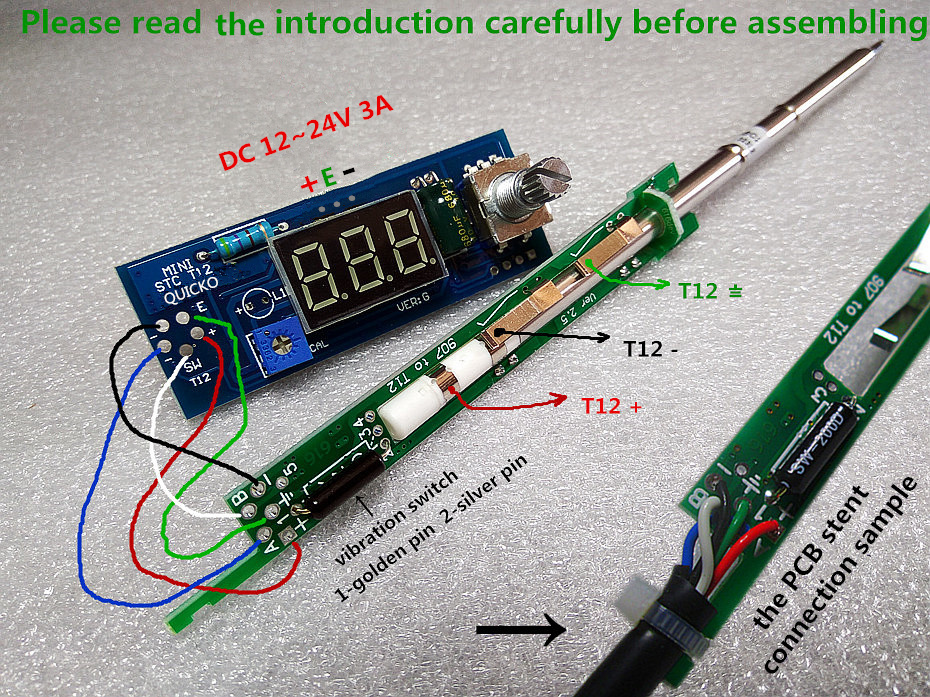
This product is a DIY Kits, buyers need to own welding. DIY risk, novice buy carefully, If it is man-made damage, we do not assume responsibility, Thank you for understanding.
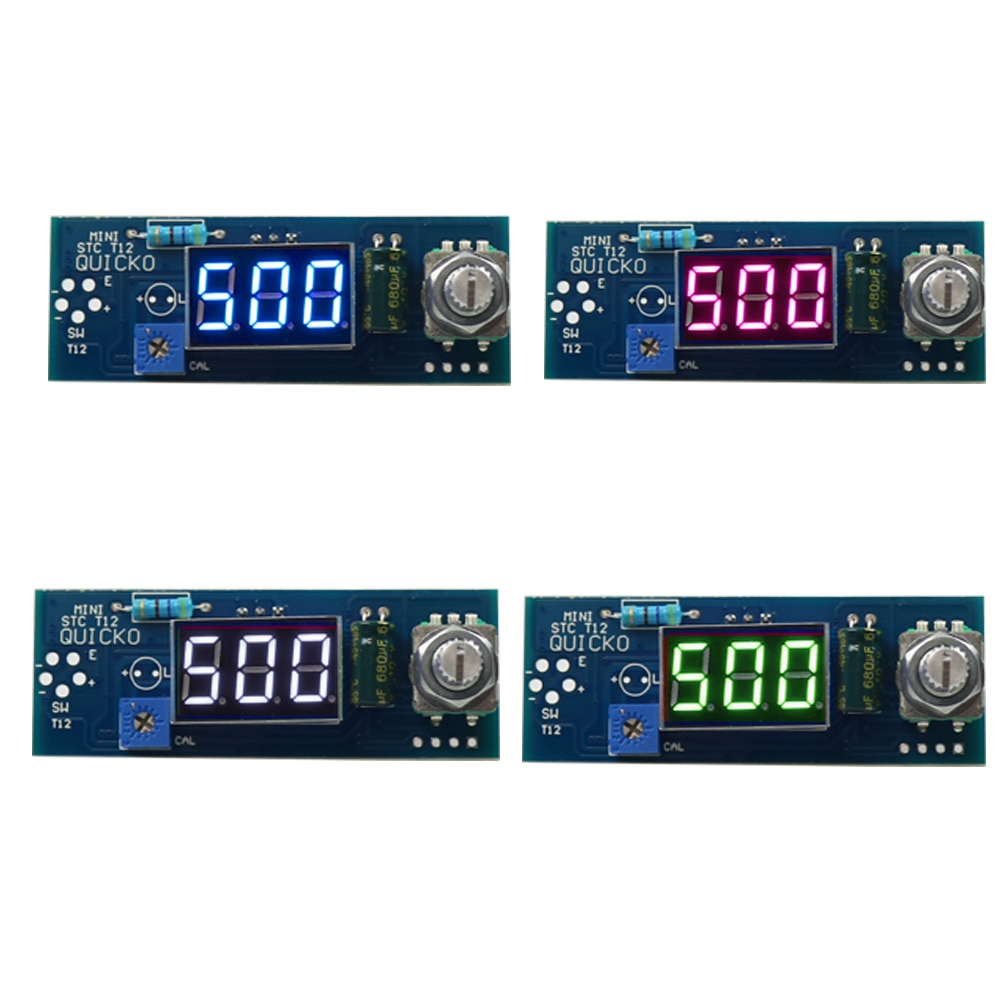
And the LED have 3 color: Blue,red,green,you can choice the color you want!
This item can use in T12 T2 T13 T15 heating core. auto sleep, ball bearing vibration. Blue light white word.
Diy Kits Descriptions:
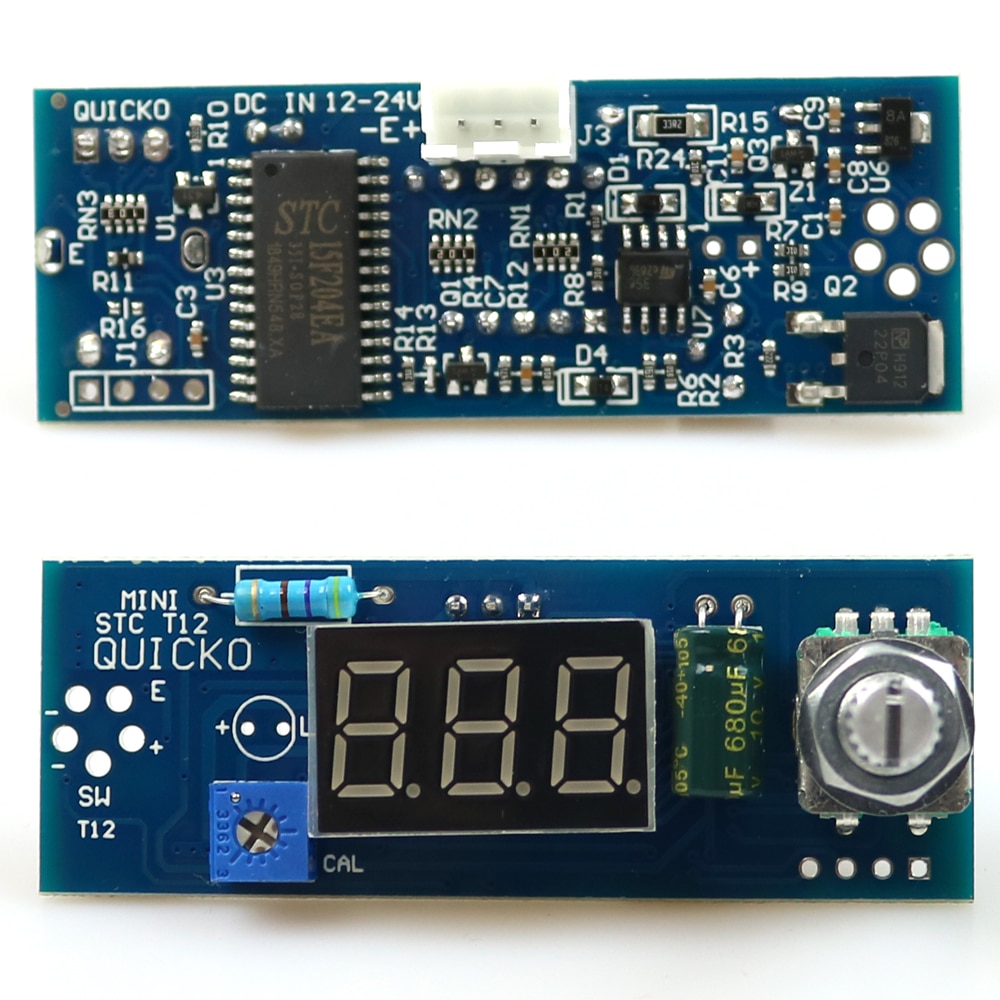
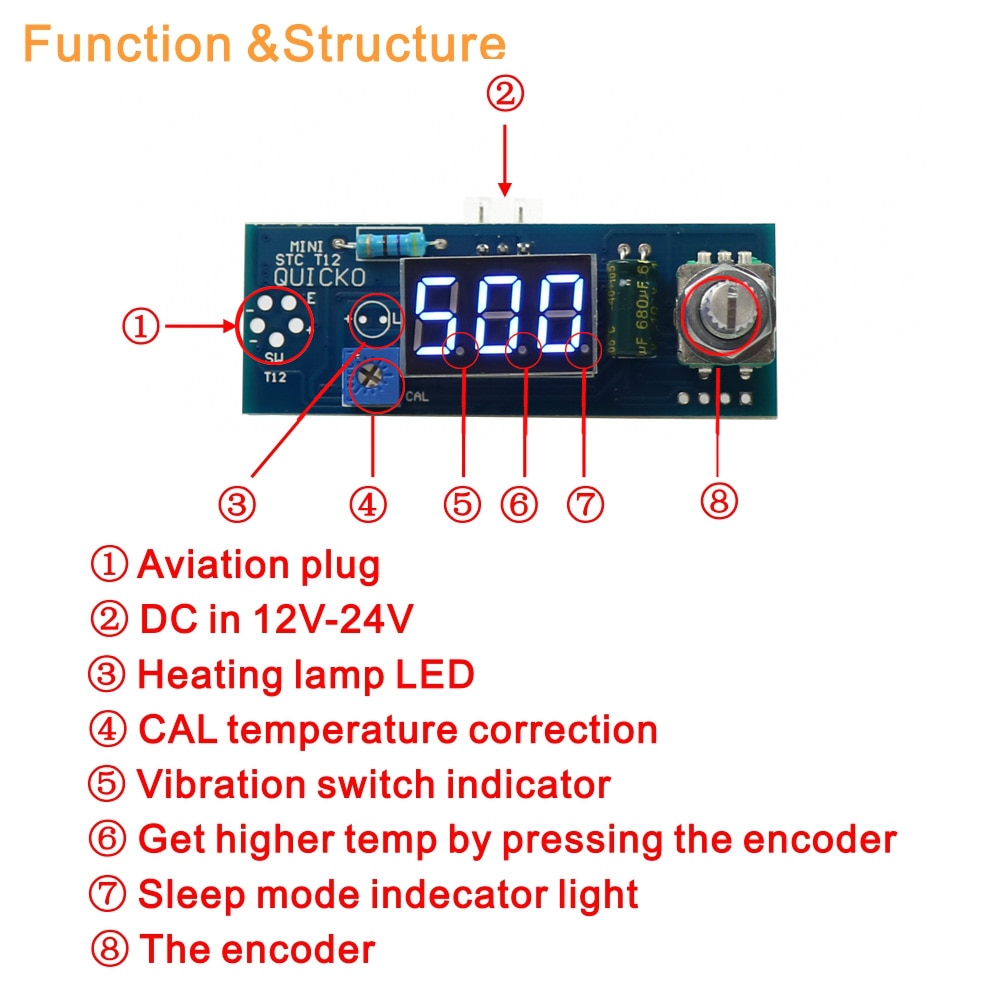
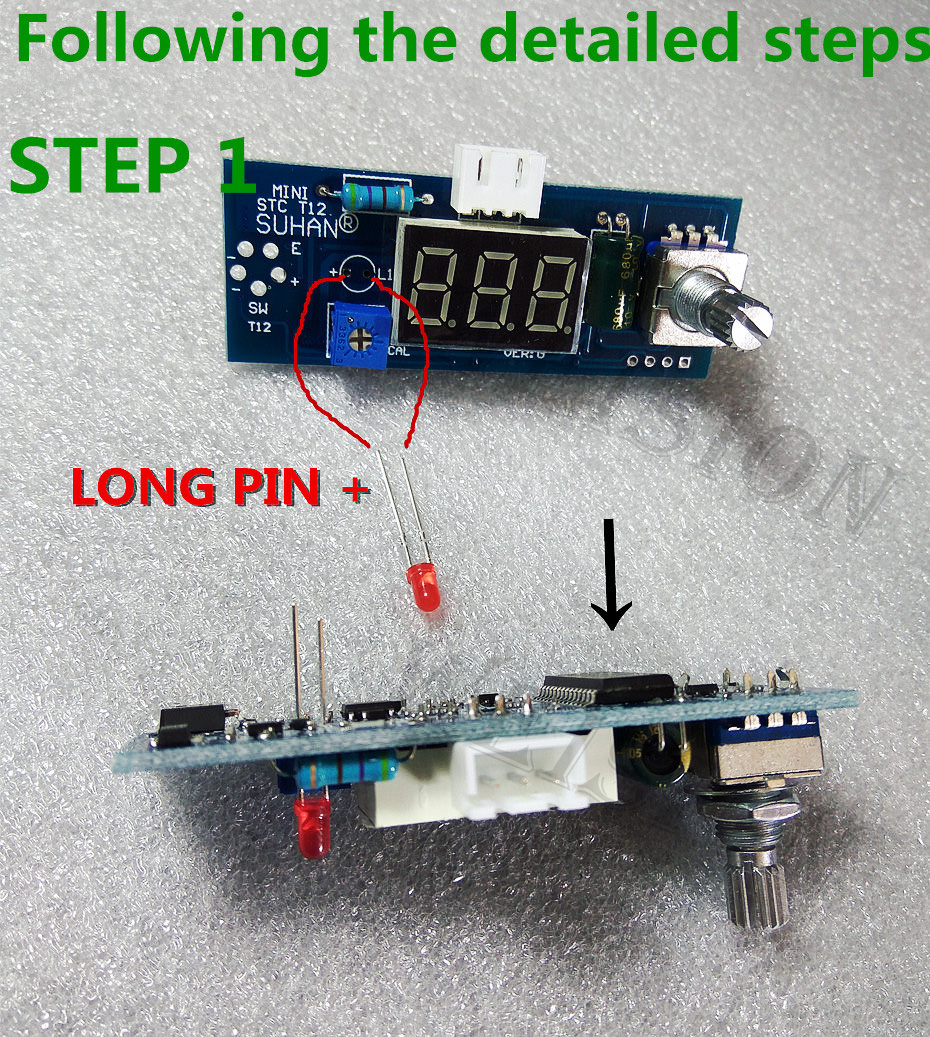
1. T12 digital temperature controller (vibration switch + LED + knob)
Input voltage: 12V-24V
Temperature adjustment range: 200C-450C Maximum Power: 75W
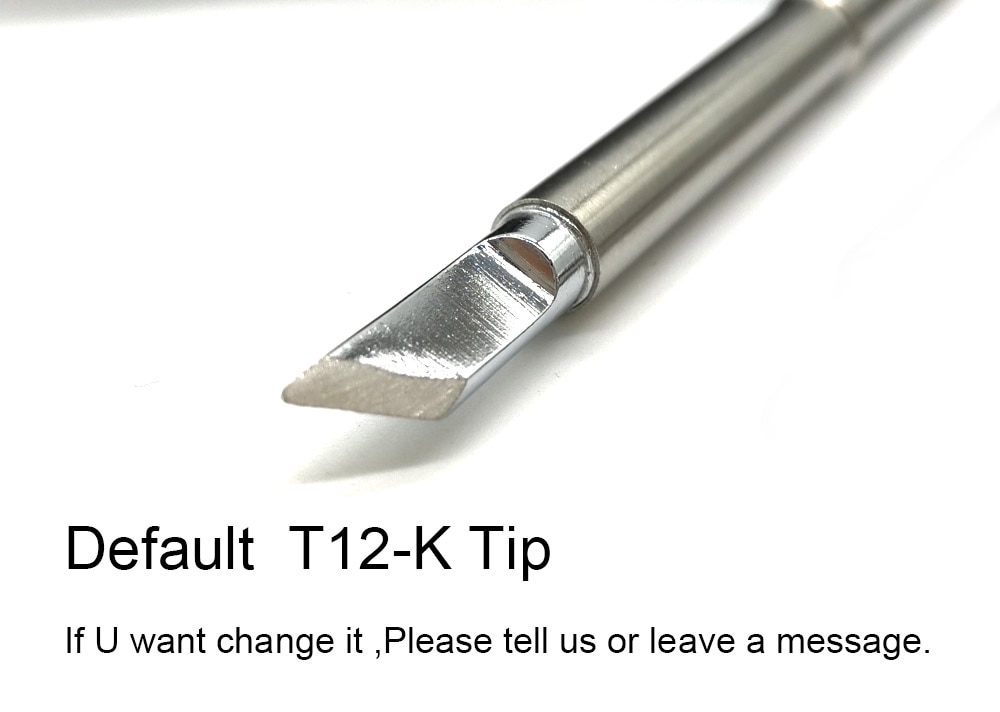
2.T12 Soldering Tip shape-k
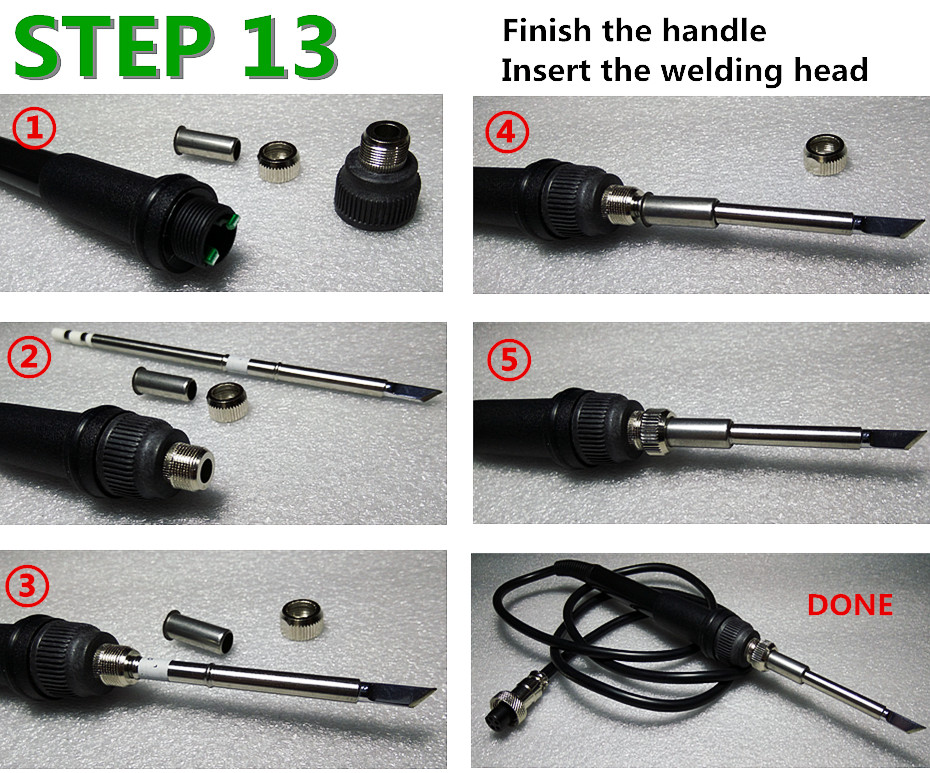
3. T2 / T12 handle (907 handle conversion)
4. T2 / T12 inner tube bracket kits
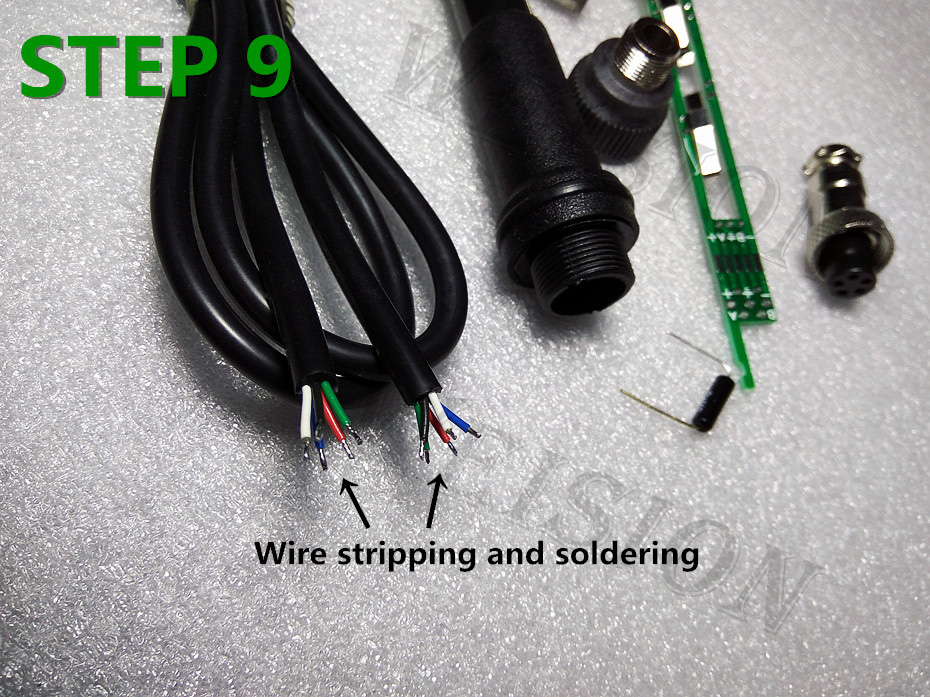
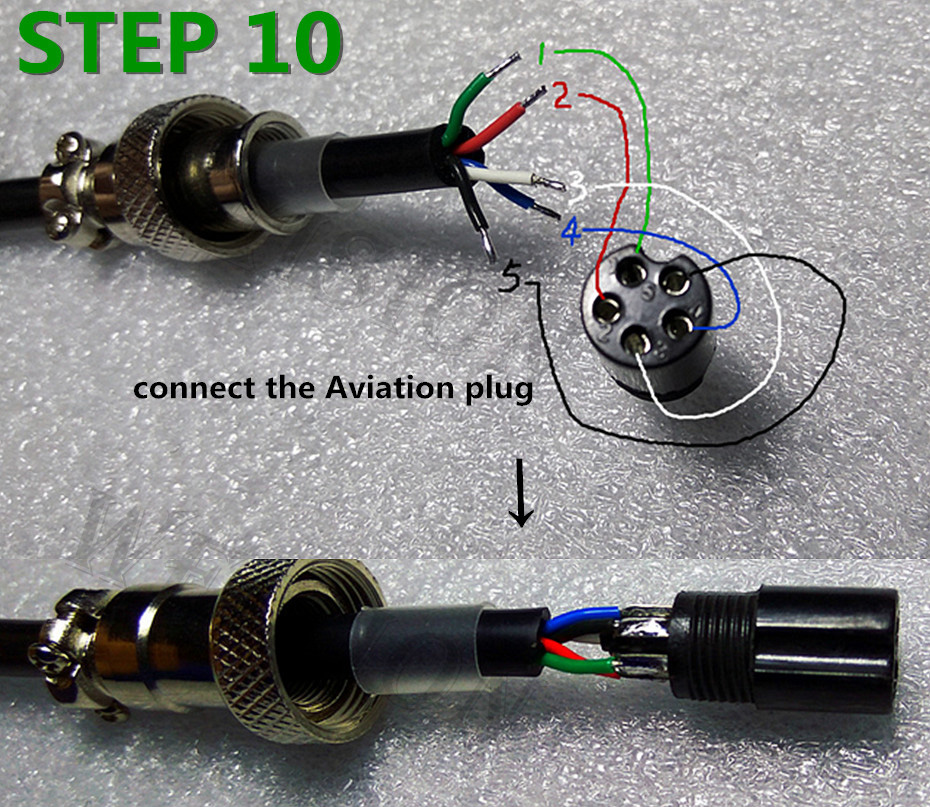
5. silicone 5 Core cable ,cable length: 100~110cm
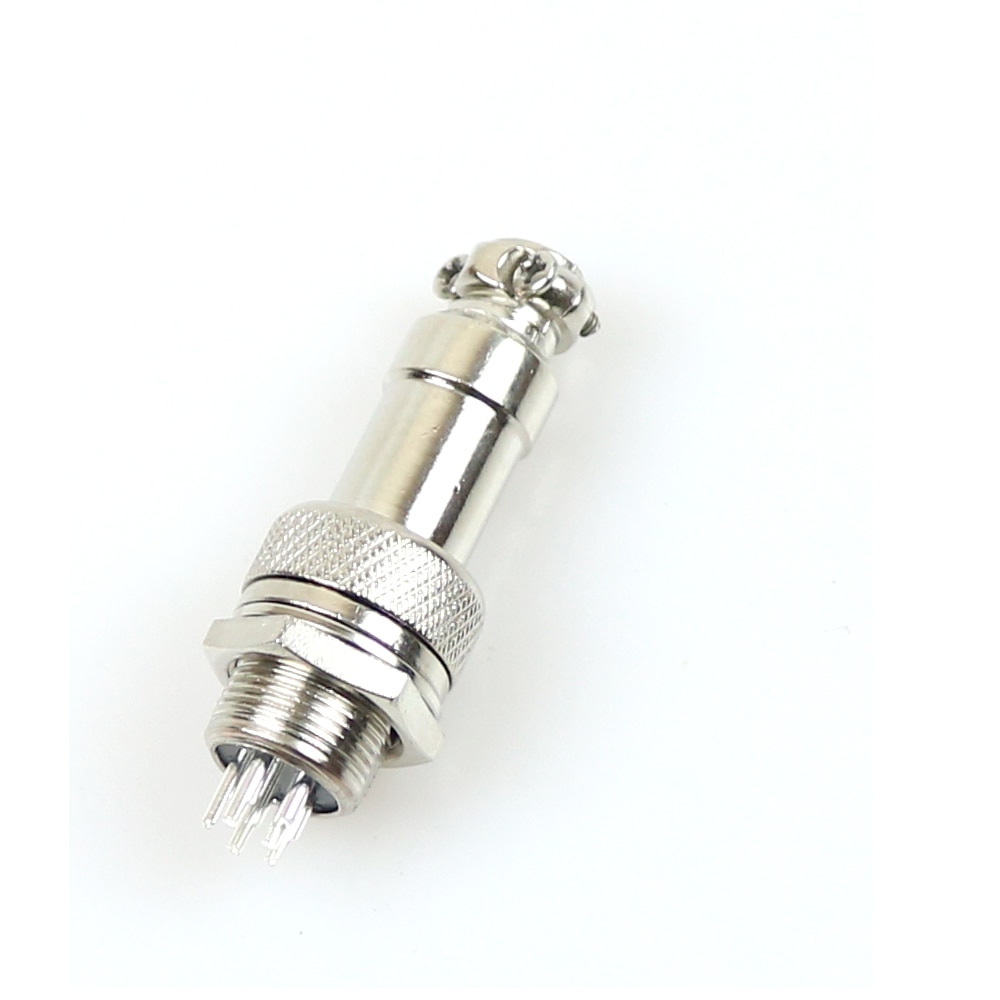
6. Soldering station iron 5 core aviation plug
7.the solder
8.Other cable/accessories (as picture shows)
Question: the temperature does not correspond to reality, the display is 200 ° with and in fact the temperature of the tip is 300 ° sec. Why is that?
Answer :see the following,change P03 and P07
Controller parameter setting mode:
(The default has been set, no special requirements, please do not set up a random)
Press and hold the encoder button does not move → start → enter the parameter settings mode:
There are 12 menus available for setup,P00,P01,P02,P03,P04,P05,P06,P07,P08,P09,P10,P11.The digital display menu is 1.5 seconds,and then automatically displays the corresponding parameters of this menu,at the same time rotate left encoder is reduced,right is increase,Press it and automatically save the currently set parameters.And then display the next menu for 1.5 seconds, and then display the corresponding parameters of this menu, and so on. When all parameters are set to automatically enter the normal heating mode.
Because each set a parameter to save once, so you can shut down at any time without having to set all the parameters (such as you just want to set P01, set P01 after you can shut down and then boot into normal mode)
Menu item:
P00: restore the default parameters (0 or 1, the default value of 0,0 for not recovering, 1 for the recovery)
P01: Operational amplifier gain (200 to 350 times, step 1, default 230)
P02: Operational amplifier offset voltage (0 ~ 250mV, step 2, the default value of 100, refers to the tip to keep the room temperature operational amplifier inherent output voltage, according to my measurement this voltage varies greatly with temperature, different magnification Not the same, the higher the magnification, if you do not measure, please keep the default value)
P03: thermocouple ℃ / mV data (30 ~ 50, step 1, the default value of 41, refers to the thermocouple need to temperature how much voltage was increased by 1mV, according to the type of thermocouple self-calculation, if you do not understand, please keep Defaults)
P04: temperature adjustment step (0,1,2,5,10 degrees optional, 0 can lock the soldering iron temperature)
P05: sleep time (how long don’t not move into sleep) (0 ~ 60 minutes, step 1, 0 is to forbidden the sleep function)
P06: Shutdown time (0 ~ 180 minutes, 0 ~ 30 step 1,30 ~ 180 step 10, 0 is forbidden shutdown function)
P07: temperature correction (+20 degrees, step 1) (due to NTC resistance in the chassis, the soldering station heat will lead to the detection of NTC temperature higher than room temperature, resulting in high temperature compensation of the thermocouple, soldering iron temperature is not accurate,or other causes the temperature is not accurate.If you set the other parameters are correct value but the temperature is still high or low, you can use this parameter correction.For example, to detect the displayed soldering iron temperature is 20 degrees higher than the actual value of this parameter Set to 20)
P08: wake mode (0,1, 0 in the shutdown mode can be rotated the encoder and also can shake the handle to wake up, 1 can only rotate the encoder wake up (Note: press the encoder can not wake up, can only rotate) )
P09: temperature increase mode to increase the temperature to adjustable (20 degrees to 100 degrees adjustable, adjust the pace of 10 degrees)
P10: temperature to increase the duration to adjustable (adjustment range of 10 seconds to 250 seconds, adjust the step 5 seconds)
P11: Parameter setting mode Auto save parameter and return to heating mode Function to active time adjustable (range 4 seconds to 60 seconds)
Installed Note:
1. Strictly reference shop tutorials, well insulated and grounded against static electricity.
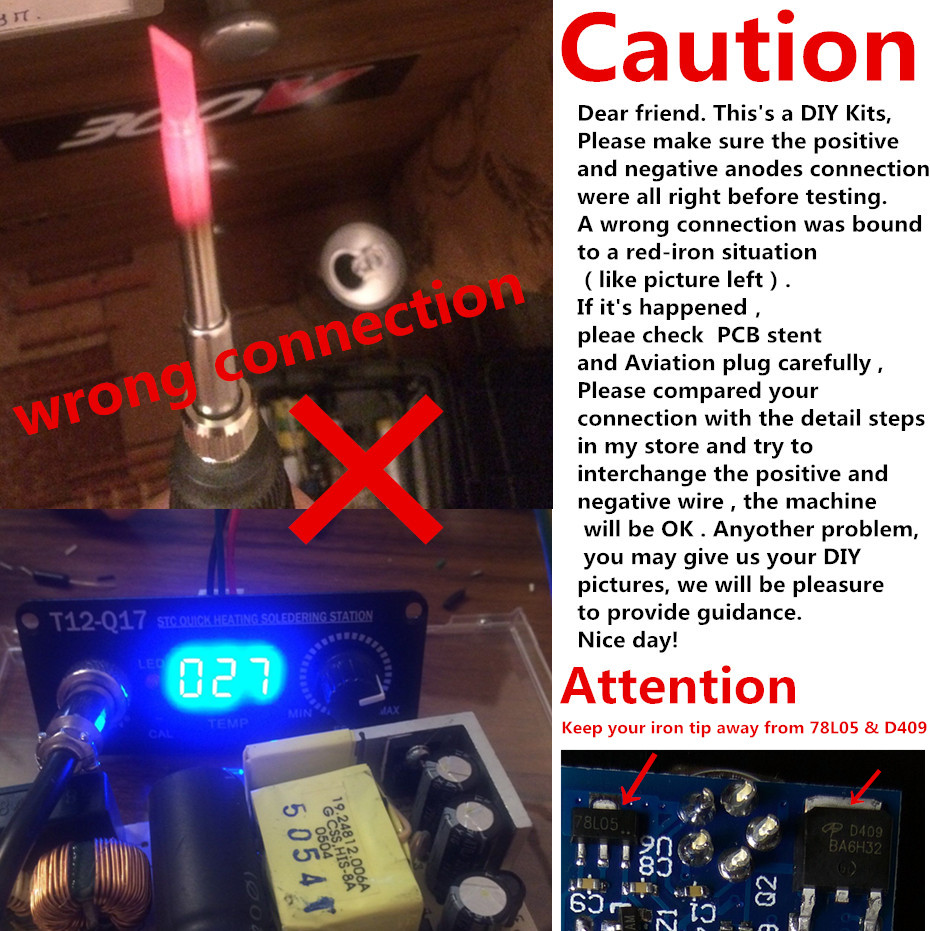
2. Before power test, carefully check the wiring is correct, whether Weld and short, full power test machine after confirmation.
3. connect 12-24V DC, if received more than 20V power supply,2017 new style product don't need to remove anything!
4. When you configure the power supply voltage and current requirements themselves refer to the following table:
Power (third column) is determined by the voltage (first column), as long as the current reaches the minimum current (second column).
Measuring Machine normal, lights and display status:
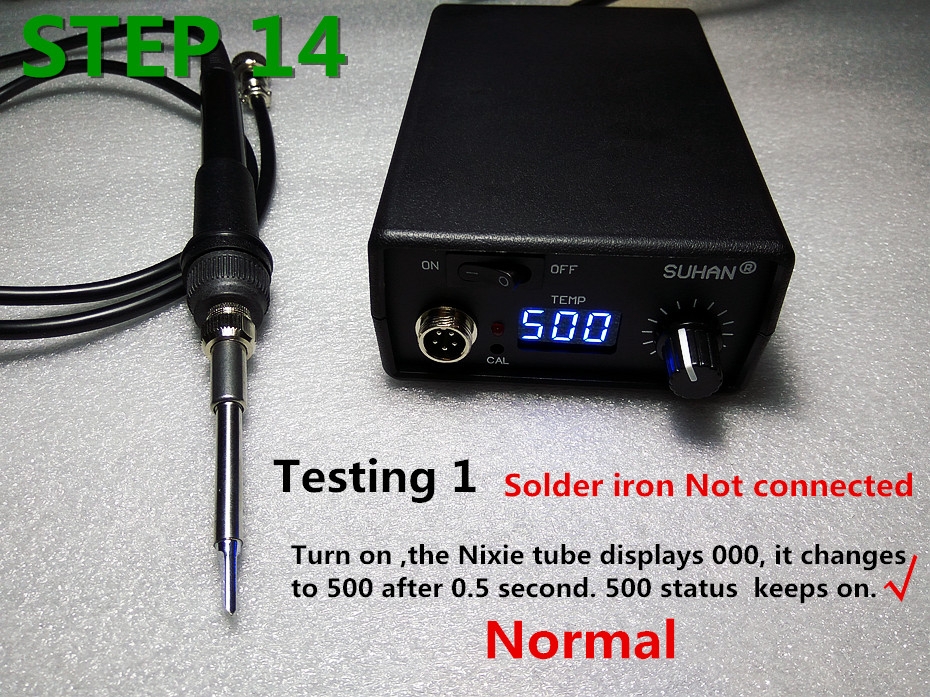
1. Unplugged T12 tip, turn the light flashed off, show SER, 1 seconds after the display 500.
2. T12 plug tip, boot light uniform flashing, indicating rapid heating from room temperature generally show the set temperature to rise, approaching the set temperature, strobe lights. Indicator is not flashing or intermittent flashes, indicating that the tip temperature reaches the set temperature or alternating temperature compensation.
When measuring machines on display digital bounce questions:
Because with the new T12 tip, the tip inside the heater did not burnt, it will be just a little jump start with warm, generally do not need special treatment, the natural use of 1-2 days basically not bounce up. If you need effective immediately, the general recommendations of the temperature to 350 -380 degree while heating to the point of tin iron head, burning off after 4-5 minutes, until the tip to cool before you can reboot! (1 no action can be repeated 2-3 times)
More than 400 degrees, the temperature shows instability, it is the industry can not solve the whole, we commonly used temperature is 300 to 380 degrees, the basic use of less than 400 degrees, more than 400 degrees use, will affect the working life of the iron tip.
Blue display kit packing list as below picture!
Red display kit packing list as below picture!
White display kit packing list as below picture!
Red/blue/white/green display diy kits doesn't include alloy case .if you need
alloy case ,pls additional purchase it..
Red/blue/white/green display diy kits doesn't include AC power supply .if you needpower supply
,pls additional purchase it..
if you want change the default iron tip (T12-K) ,pls leave a message when you place order.

